- Introduction
- Downloading Ubuntu 16.04 LTS
- Burning the ISO Image
- Nested Virtualization
- Booting from the DVD Drive
- Other Methods
- Installing Ubuntu 16.04 LTS
- Rename Network Adapters
Introduction
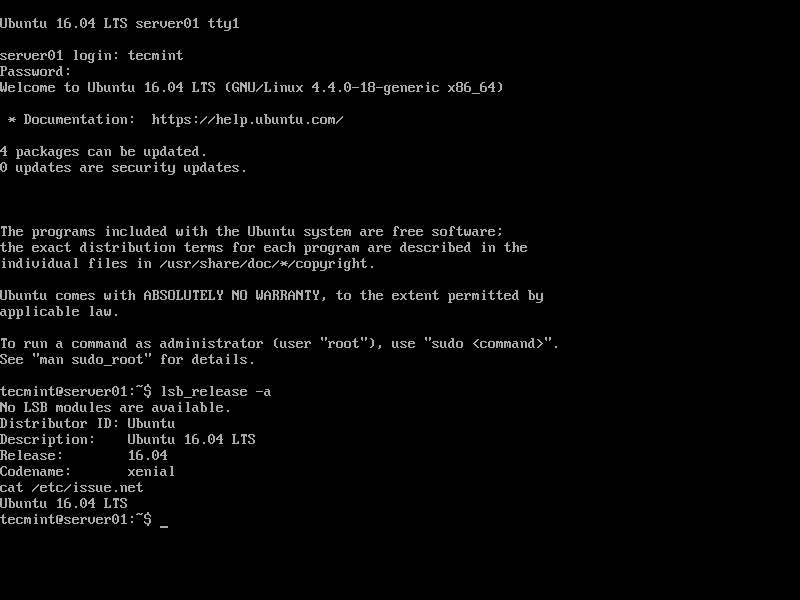
This guide will walk you through the process to install Ubuntu Server x64 16.04 LTS.
You can use other distributions of Linux with minimega, but your mileage may vary.
Downloading Ubuntu 16.04 LTS
Ubuntu is a free operating system that can be downloaded from ubuntu.com/download/server
A download manager such as downloadthemall for firefox may make this process faster.

Currently downloadthemall is only compatible with old versions of FireFox. Another command line alternative is aria2
Burning the ISO Image
Once the download is complete for Ubuntu Server you should have an ISO file. This file is a digital image of a DVD and if you are using bare metal this needs to be burned to a disk.
There are a variety of methods to do so, depending on your hardware it is also possible to use a USB Drive if supported. Consult google for help burning an ISO to a DVD.
Windows – Imgburn, Linux – Brasero, OSX – hdiutil
Note: DVD media is preferred over CD media because dvds can be read from and written to faster.
Nested Virtualization
If you are using nested virtualization you can add the iso file as a cd drive in VMware’s settings.
Booting from the DVD Drive
Insert the newly burned DVD into your machine and turn it off and then back on.
When the machine is booting you will need to tell the bios to boot an operating system from the DVD drive. This is typically done using the keys F2/F8/F11/F12. Consult google if you are unable to do so.
Other Methods
Optical media is quickly becoming outdated. Here are a list of alternative methods that can be googled.
Usb dvd drive, Usb thumbdrive, Android DriveDroid, PXE Booting, Netboot, DD
Installing Ubuntu 16.04 LTS
Ubuntu Server has a GUI installer that walks you through the process. The steps are outlined below.
Installer Language
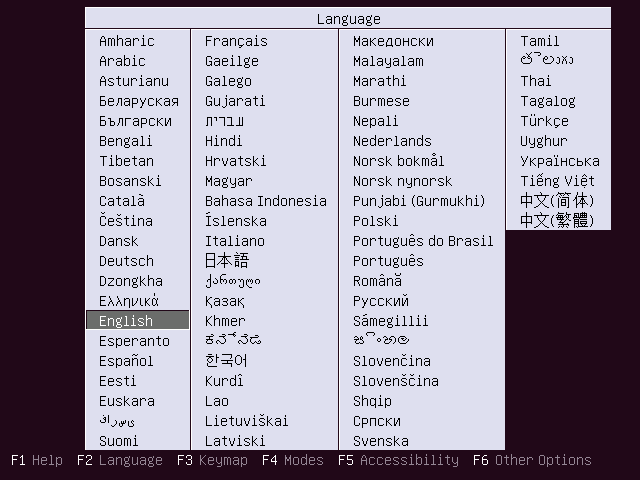
Select English and Press Enter
Boot Menu
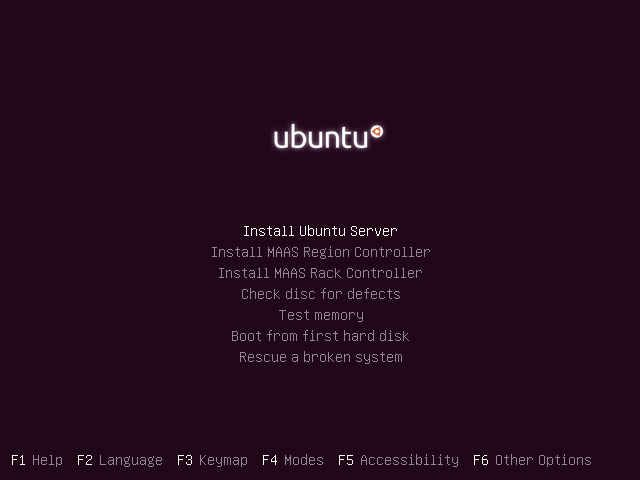
Select Install Ubuntu Server and Press Enter
Installed Language
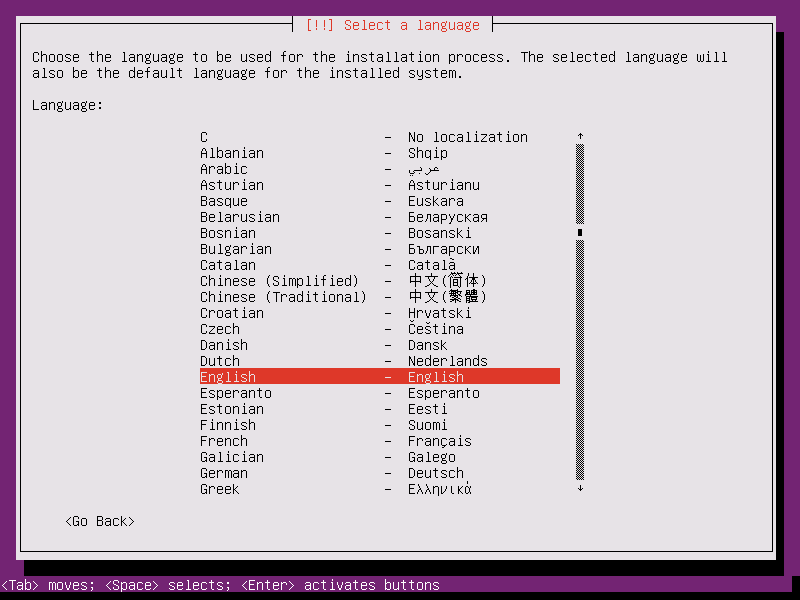
Select English as the language to be installed.
Location
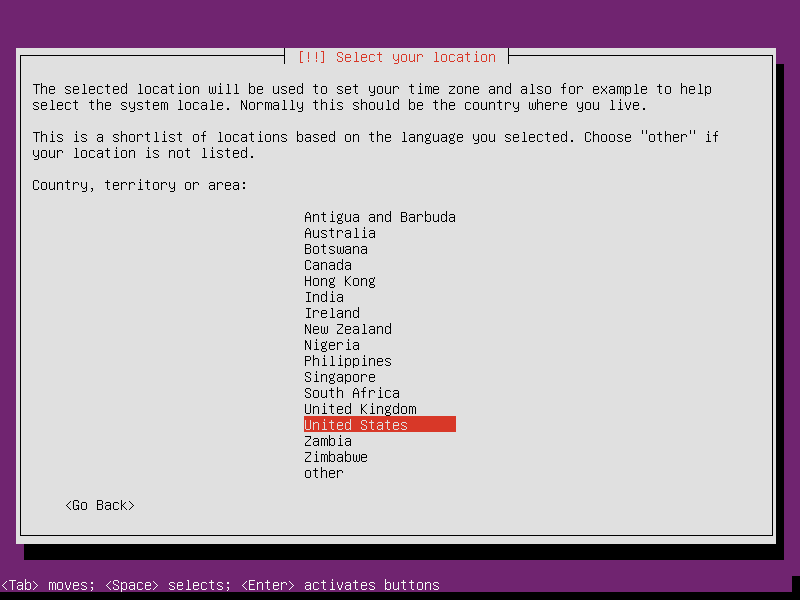
Set your location so ubuntu can determine the correct timezone information
Keyboard
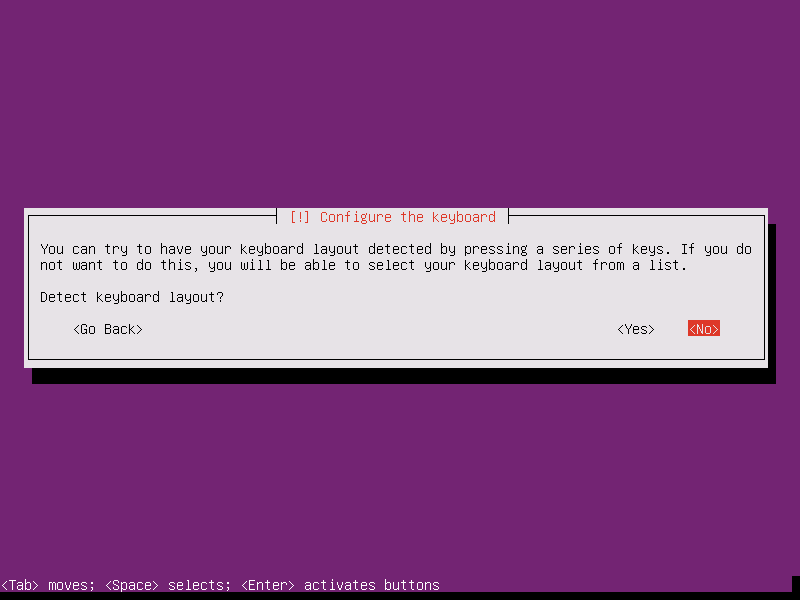
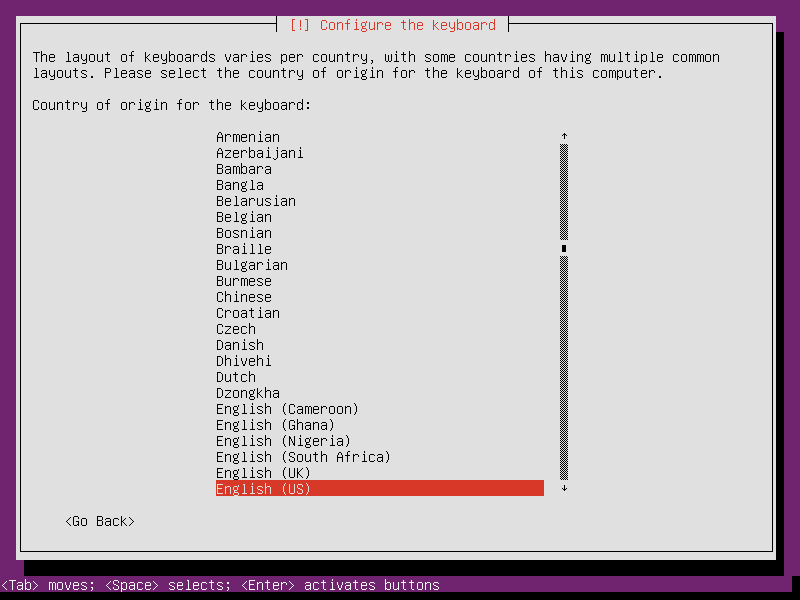
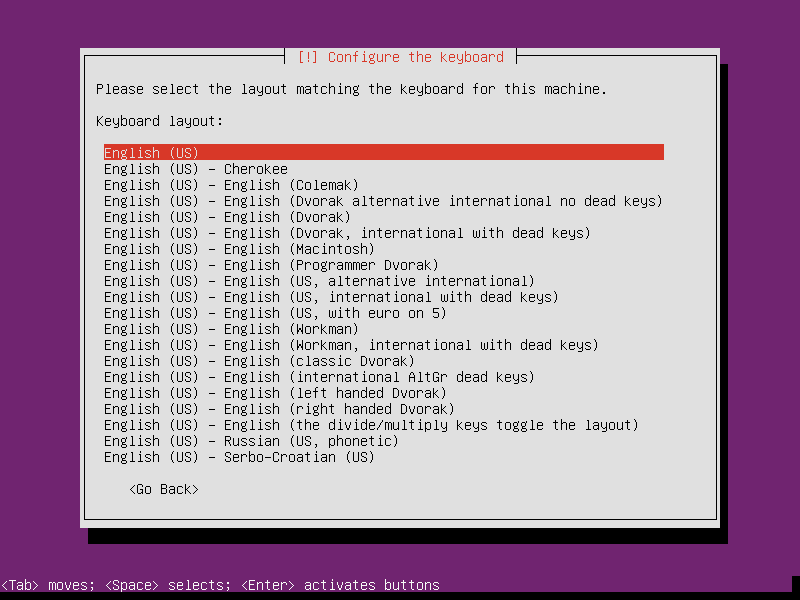
Set your keyboard to English US either using autodetection or not
Hostname
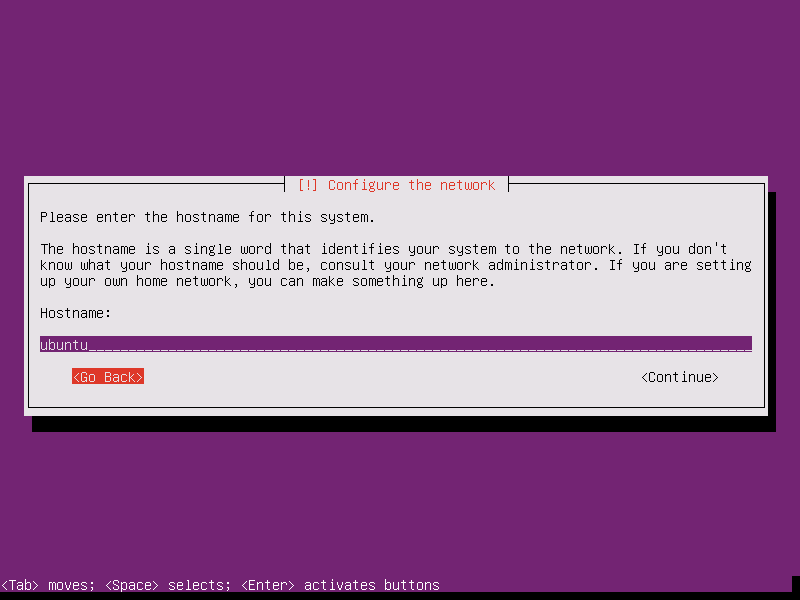
Give the machine a name. For ease of future work numerical values following a set name is preferred. I.E. node1,node2,node3
Username
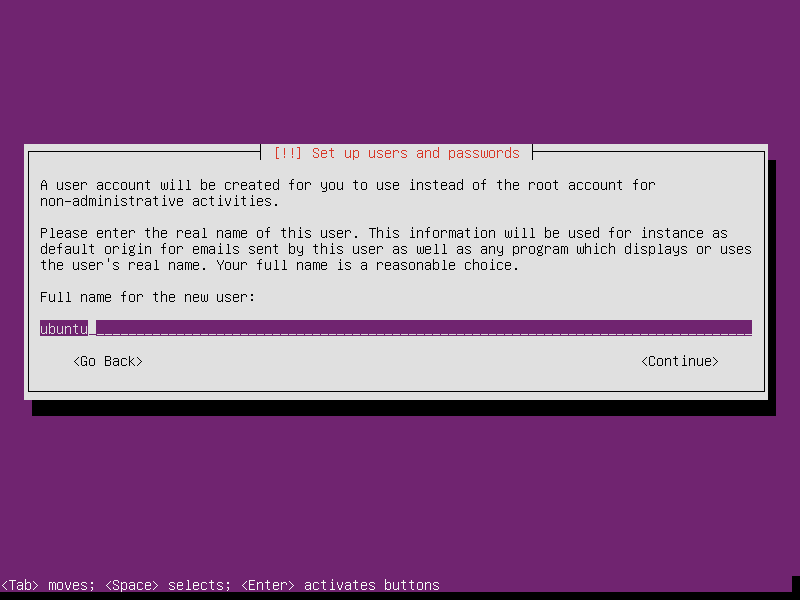
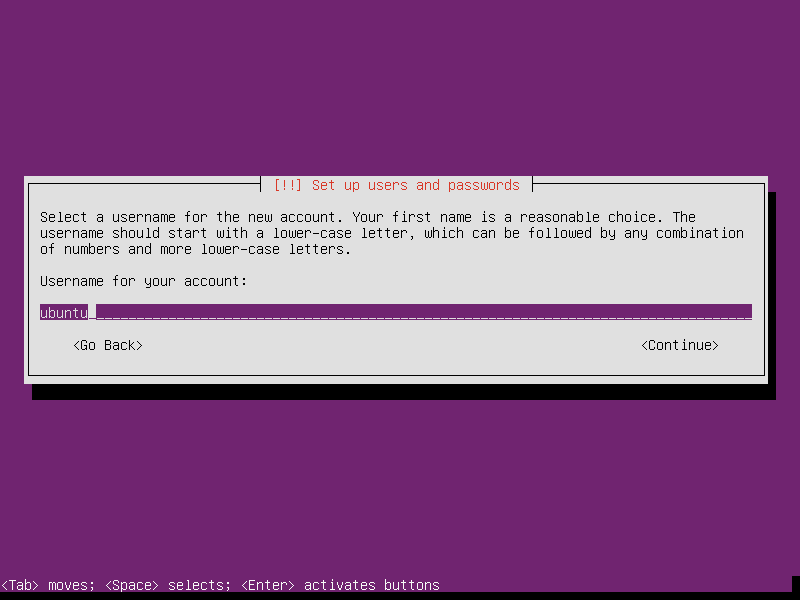
Set a fullname and username
Password
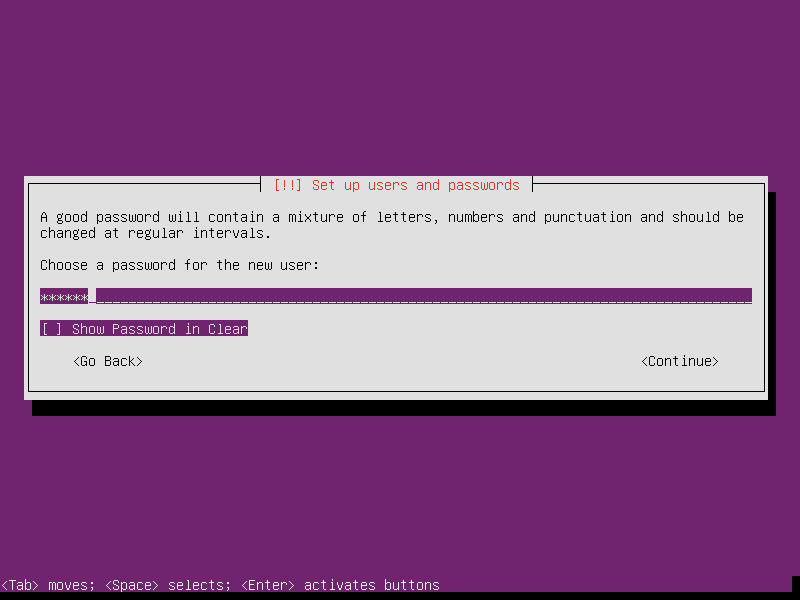
Set a password
Disk Encryption
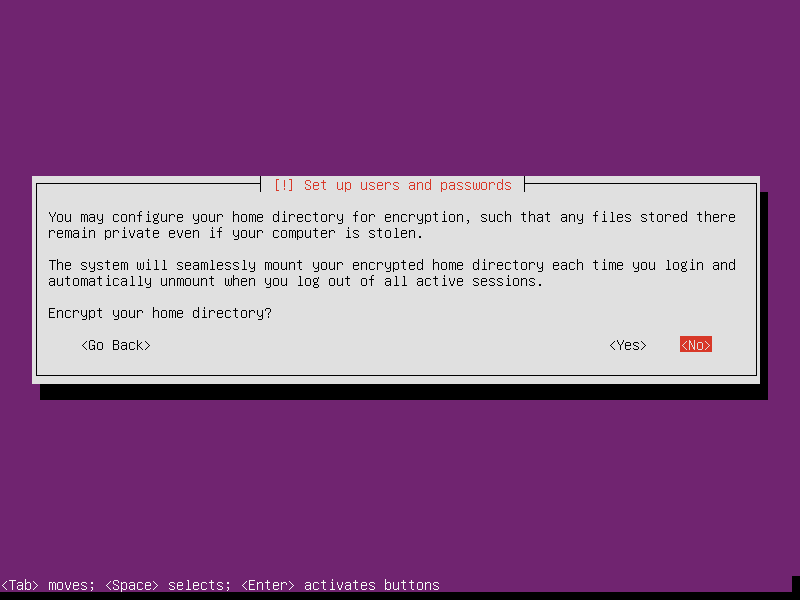
Don’t encrypt your home directory
Timezone
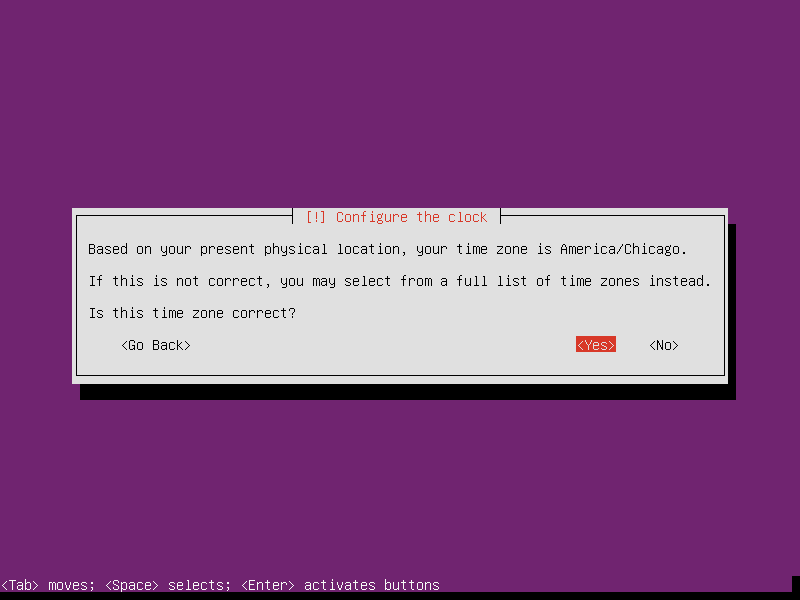
Accept the timezone
Disk Partitioning
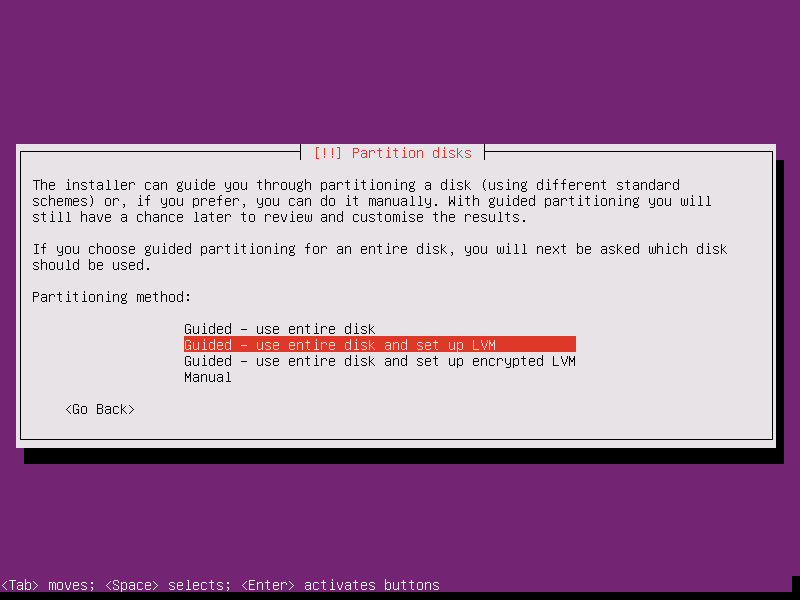
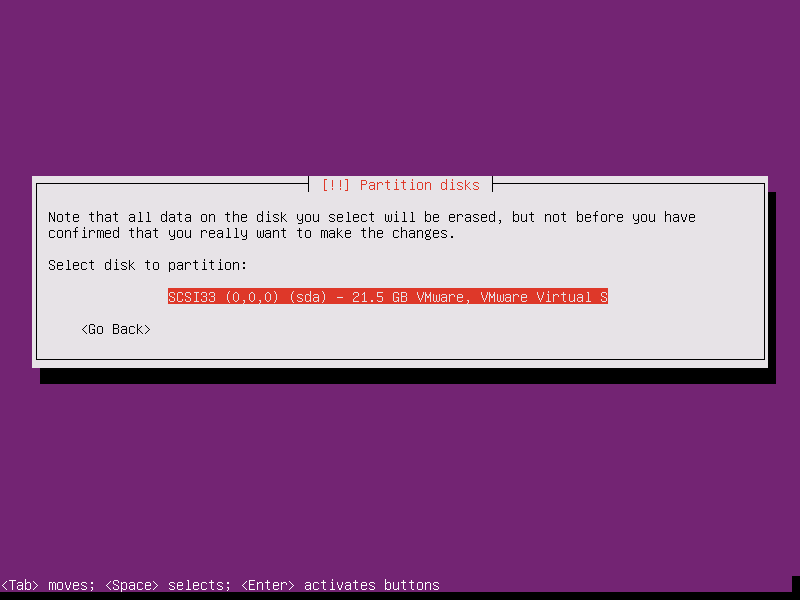

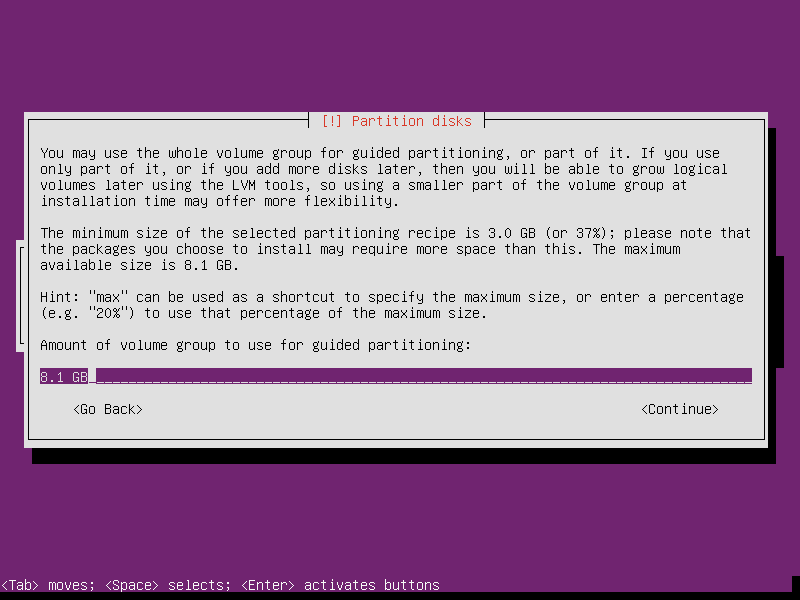
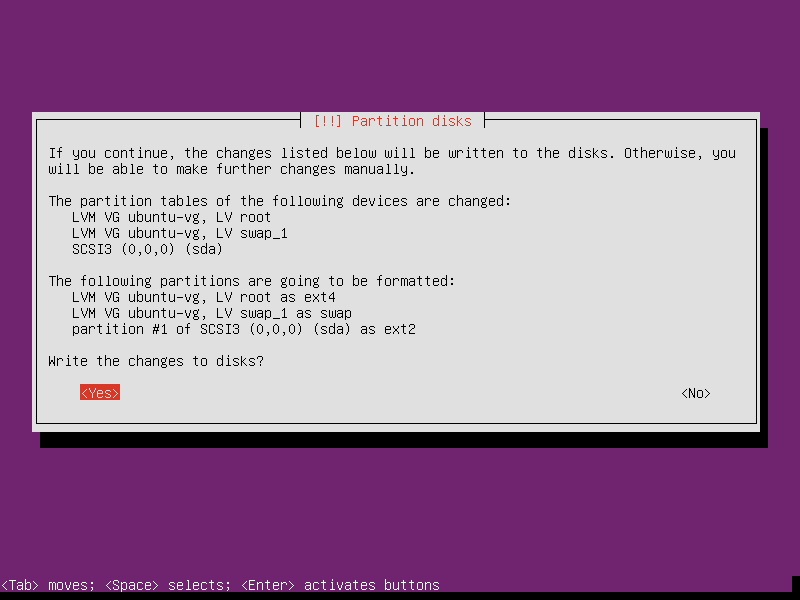
Use guided partitioning, select your disk, write the changes, and use the whole volume. If you install Ubuntu in future modules using LVM you will have troubles injecting files with minimega.
Installer
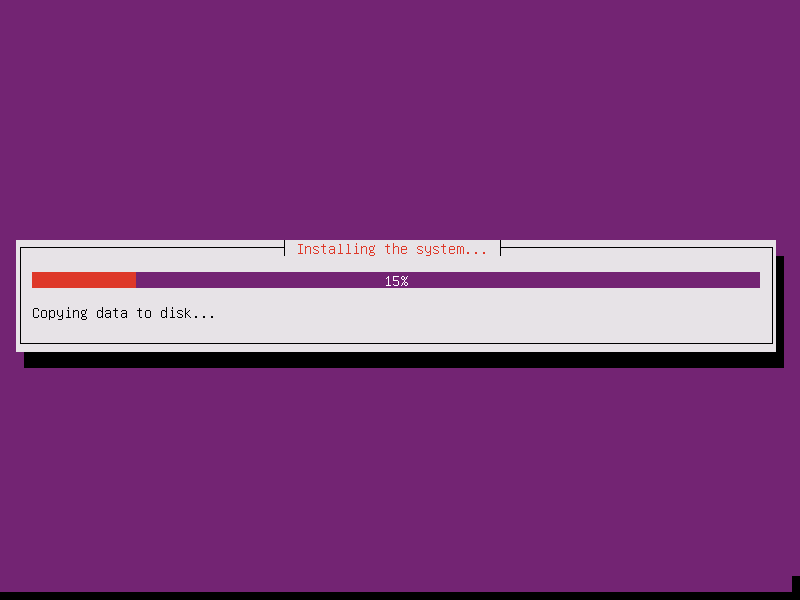
Wait for the installer to finish copying files to the hard drive.
Proxy
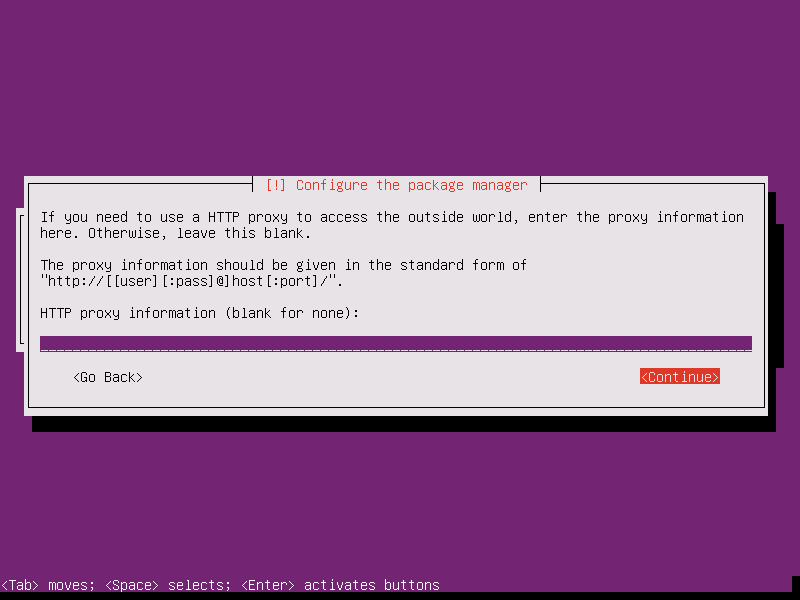
No proxy
Updates

No autoupdates
Software
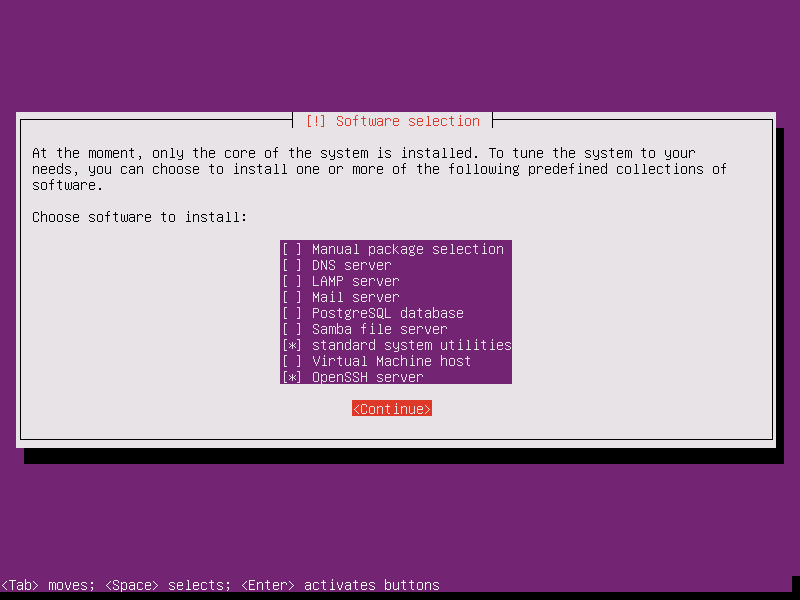
Select OpenSSH Server with space bar.
Grub
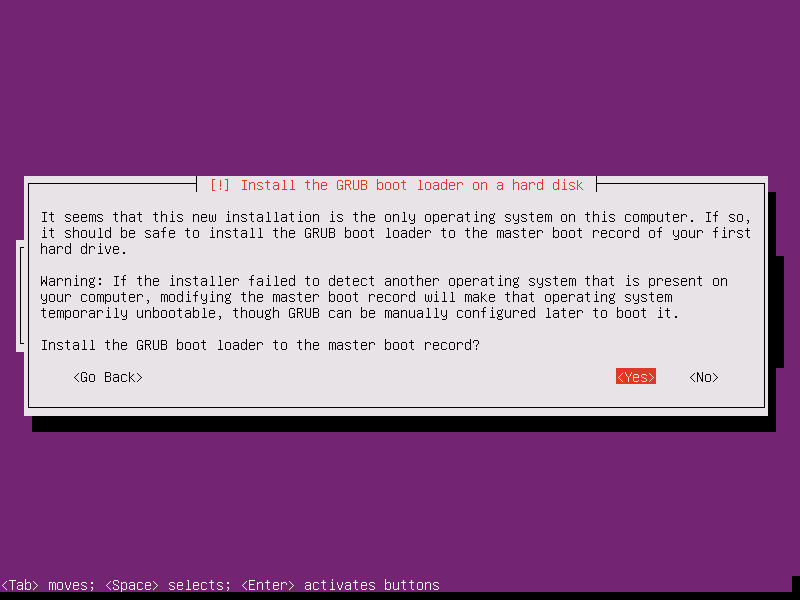
Install grub to boot Ubuntu Server
Reboot
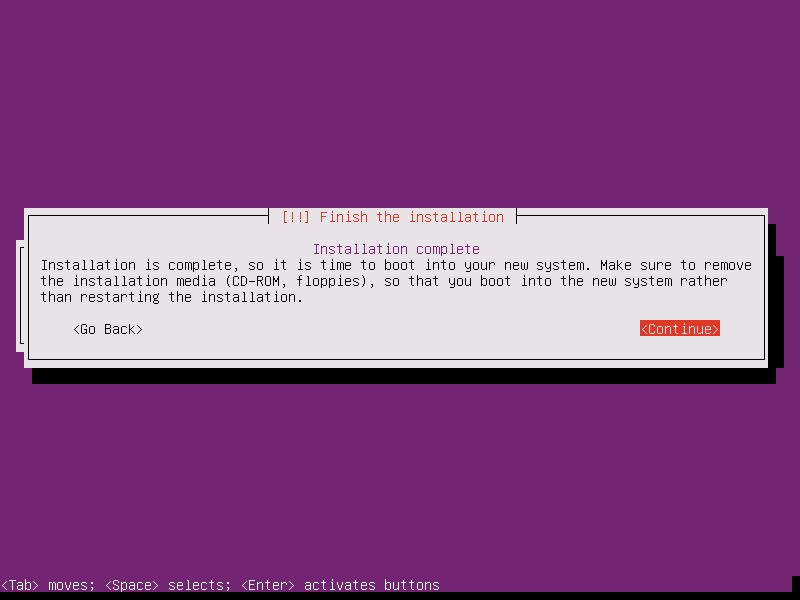
Continue to reboot
And Ubuntu Server will be installed.
Rename Network Adapters
Ubuntu uses a naming convention for network adapters that can be somewhat confusing. Here is what they mean
Lan-On-Motherboard interfaces: em[port number] (ethernet-on-motherboard [1,2 ..]) IE em0
PCI add-in interfaces: p[slot number]p[port number]_[virtual function instance] IE p3p1
Rename the adapters to start with the “eth” prefix to make things easier.
You can change the grub config to do so with these commands.
sudo sed -i -- 's/grub=GRUB_CMDLINE_LINUX=""/GRUB_CMDLINE_LINUX="net.ifnames=0 biosdevname=0"/' /etc/default/grub
sudo update-grub
Enable DHCP at Boot
With the renamed adapter you will need to change eth0 to start with dhcp on boot.
sudo echo -e "auto eth0\niface eth0 inet dhcp" >> /etc/network/interfaces
sudo reboot
Authors
The minimega authors
30 May 2017